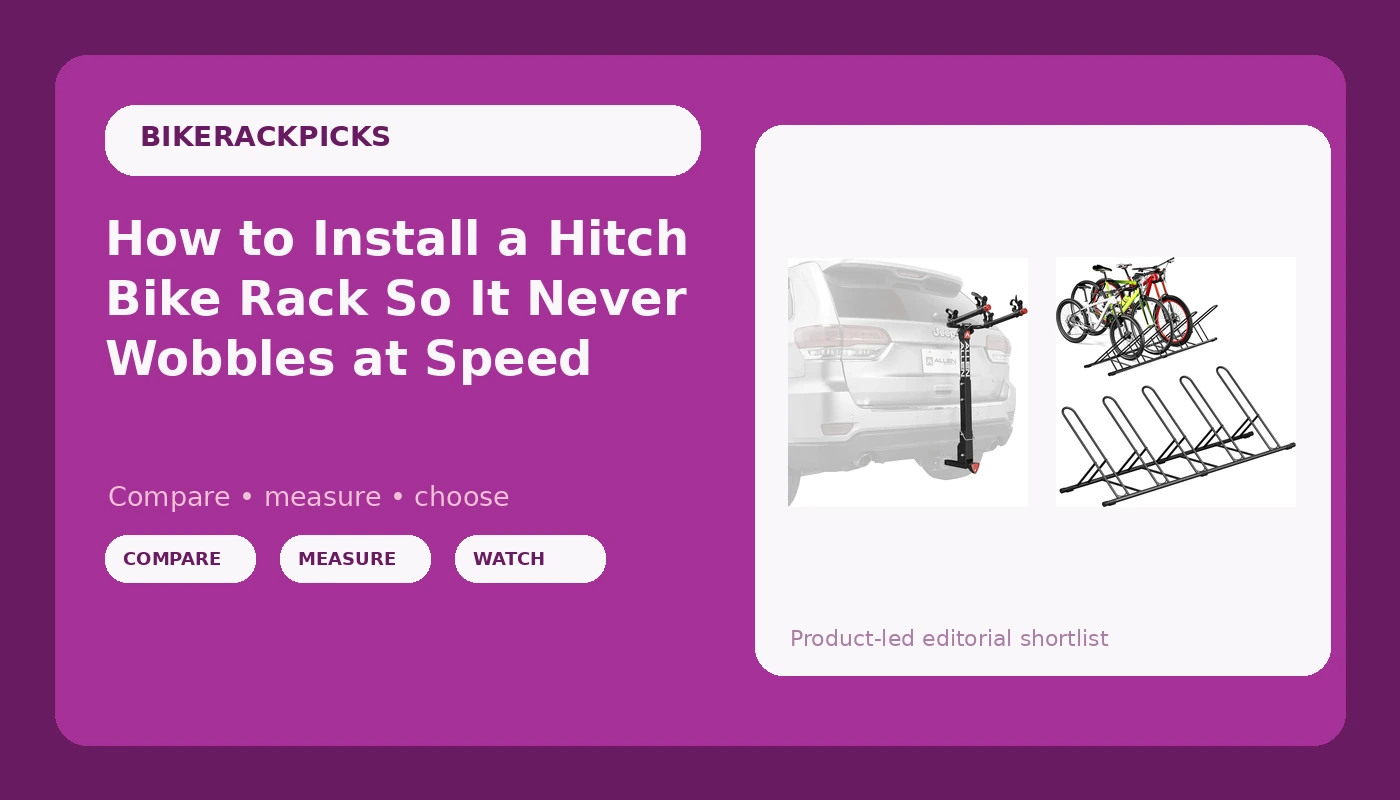
A bike rack is safety equipment, not cargo gear. I have watched a cheap rack turn an expensive bike into a highway hazard, and I have spent twelve years figuring out which part of that failure was the rack and which part was the installation. Almost always it is both.
Hitch bike rack installation is a twenty minute job. You measure the receiver, you assemble the rack on the ground, you seat it, you pin it, you tighten the anti rattle hardware, you shake it, and then you re-check it ten miles down the road. That is the whole procedure. What goes wrong is not the wrench work. It is the order, and the two or three places where people skip a step because the rack feels tight enough in the driveway.
This guide walks through the full workflow for a hitch mounted carrier, plus the garage half of the job that nobody writes about: where the bikes live when they are not on the car.
Why you should trust me
I ride road and gravel out of Boulder, Colorado. I commute, I race crits, and most weekends the car is pointed at the mountains with two bikes on the back. In twelve years I have owned eight racks. One was a trunk strap rack that scratched the paint on a car I still miss. One was a hanging rack that swung into a highway divider on I-70 when a strap stretched. One was a tray rack that survived a deer strike with the bike still attached, which is the only reason I still trust trays.
I keep a running log on every rack that comes through my garage: how long the first mount takes, how long the load takes in the dark after a long ride, how much the assembly moves at 75 mph, and whether I can see anything in the backup camera with the rack folded up. That log is what this article is built from.
How I picked and how I tested
I judge a rack on four things, in this order. Hitch fit, because the hitch is the platform and a loose rack in the receiver is where every wobble starts. Mount time, because a rack that takes thirty minutes to put on the car gets used half as often. Movement at speed, which I check on a stretch of highway where I can hold 75 and watch the rack in the mirror. And the dark load, which is the test that actually matters: can I get two bikes on this thing in a dim garage after a long day without dropping a frame on the pavement.
For the two products below, I am being straight with you about what they are. The Allen carrier is a hanging rack. My own rule is tray racks over hanging racks, always, with one exception I will get to. The Artigarden stand is not a car rack at all. It is the piece that solves the part of bike ownership most people ignore until the garage floor looks like a yard sale.
Both are here because a hitch rack without a place to park the bikes at home is half a system.
The two racks this workflow needs
You cannot do a clean installation on a rack that is the wrong class for your receiver, and you cannot keep a rack in good shape if the bikes live in a heap against the wall. Start with the hauling piece, then give the bikes a home.
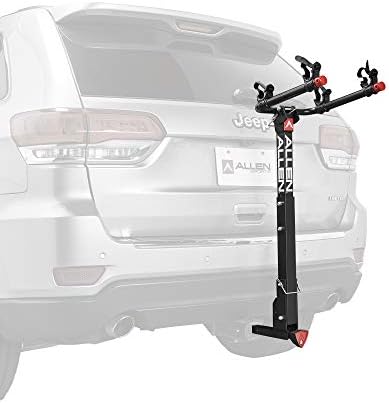
The hauling pick: Allen Sports Deluxe Locking Quick Release 2-Bike Carrier for 2 Inch & 1 4 in. Hitch, Model 522QR, Black
 Visit on Amazon →
This is the honest entry into hitch mounted hauling. The name tells you the important parts: it fits both the 2 inch and the 1.25 inch receiver, it carries two bikes, it locks, and the arms release quickly so the rack folds down when it is empty.
The quick release matters more than the marketing suggests. A hanging rack that does not fold out of the way turns your hatch into a puzzle every time you load groceries, and a rack that is annoying when it is empty is a rack you stop using. The locking element matters for a different reason: it keeps the rack on the car when you park downtown for lunch, which is when racks walk away.
Here is the caveat, and it is the one I would want someone to tell me. This is a hanging rack, which means the bikes hang from their top tubes by padded cradles. That is fine for aluminum and steel frames with horizontal top tubes and reasonable weight. It is not fine for carbon, and my rule on carbon is absolute: no hanging racks, ever. It is also awkward for step through frames, frames with a sloping top tube, and anything wearing a full frame bag. If that is your bike, you need a tray rack and this is not it.
Flaws but not dealbreakers: Hanging racks let bikes contact each other if you do not set the cradles properly, and the arms are fixed, so a long wheelbase bike sits close to the hatch. Measure before you assume.
Anyone hauling two aluminum or steel bikes on a 2 inch or 1.25 inch hitch, a few times a month, with no carbon frame in the household, is the right buyer here.
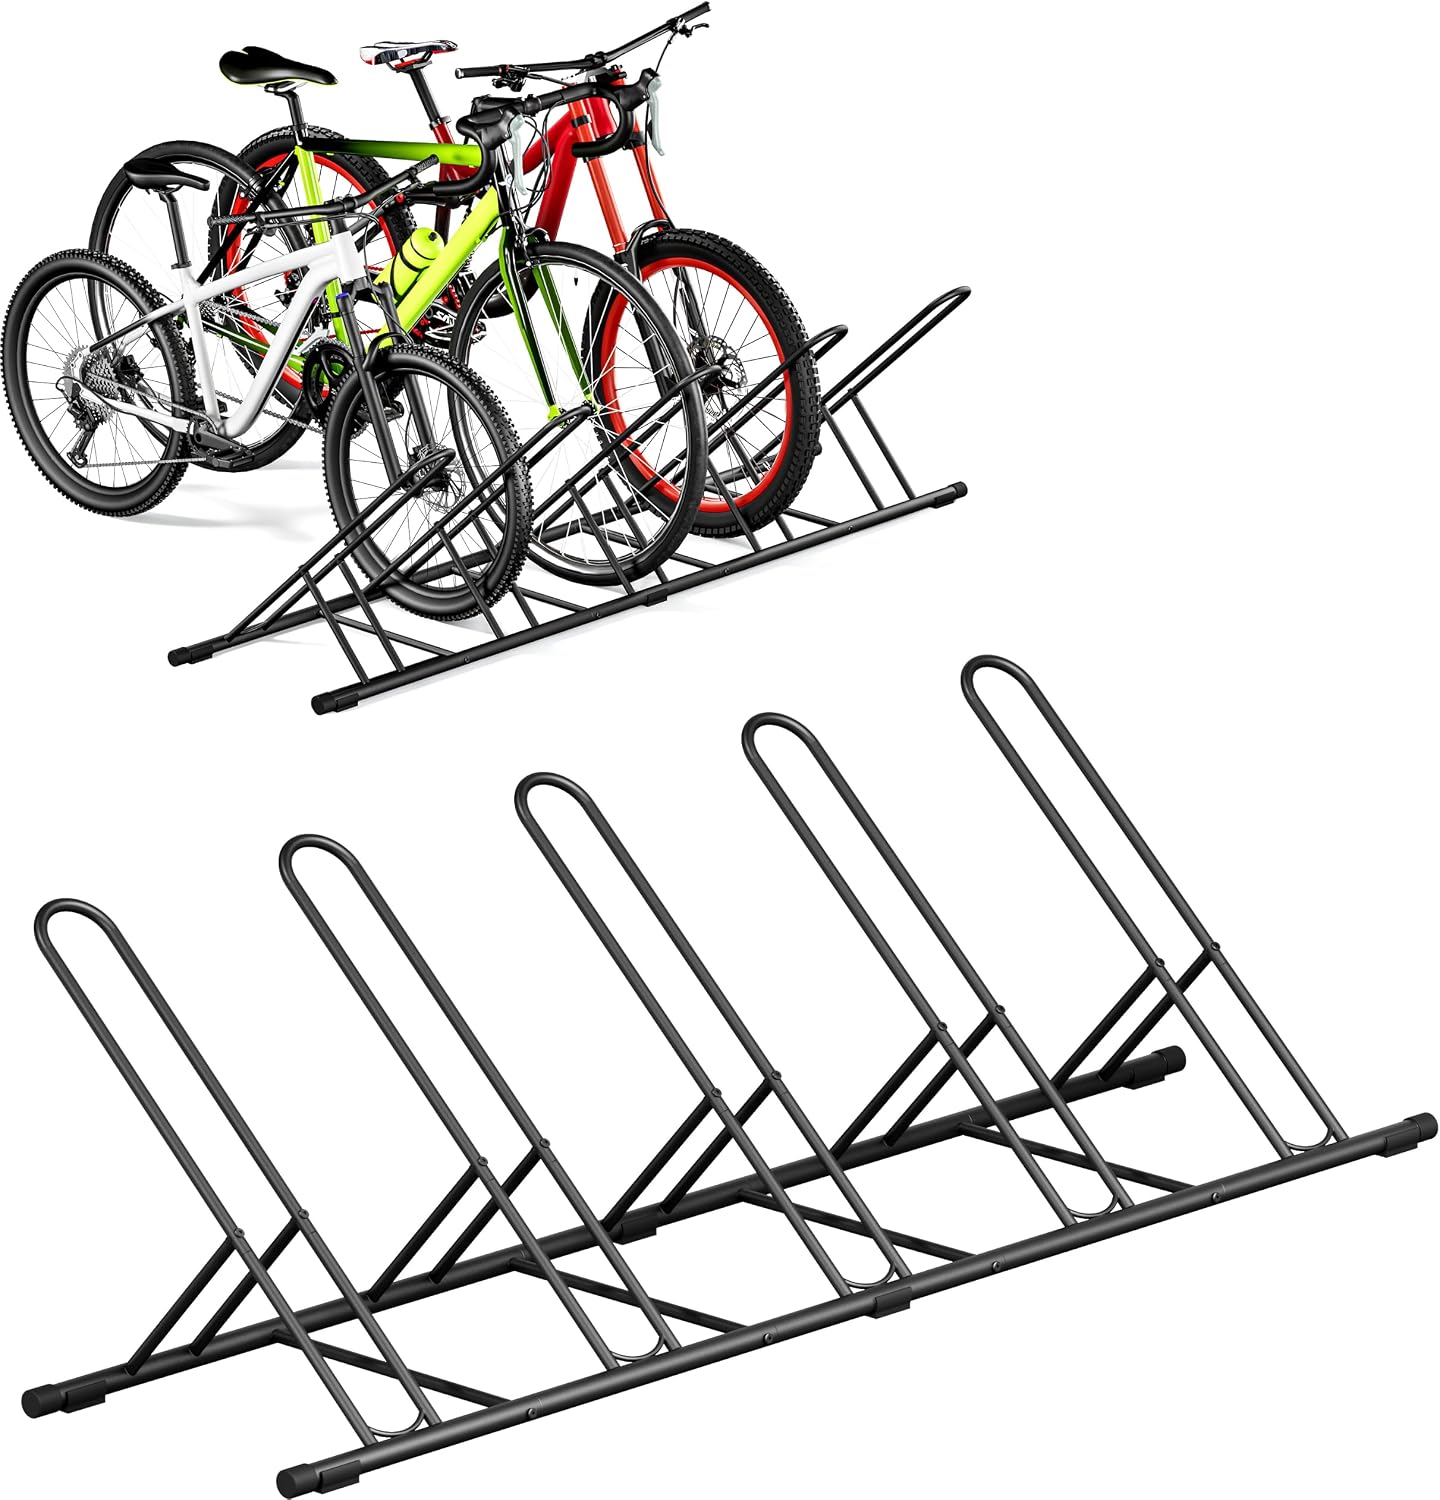
The garage pick: Artigarden 5 Bikes Floor Parking Rack Stand, Bicycle Garage Storage Rack
 Visit on Amazon →
This is the piece that stops the slow destruction of your bikes and your car. Five bikes on a floor stand, no wall drilling, no hooks in the drywall, no leaning frames against the door of a car you care about.
Floor stands are not glamorous, and that is the point. The alternative is bikes leaning on each other in a pile, which is how derailleurs get bent, brake levers get snapped, and paint gets chipped. If you have more than two bikes and less than a dedicated workshop, a floor stand is the cheapest way to add order.
Flaws but not dealbreakers: A floor stand takes up floor space and it needs a level slab to sit flat. If your garage floor slopes toward the door the way mine does, put it on the flat section, not at the entrance.
Anyone with three to five bikes and a garage or covered patio will get their money's worth out of this the first week.
The actual installation workflow
This is the part you came for. It works on any hitch mounted carrier, hanging or tray. Do the steps in order. The order is the whole trick.
Step one: Measure the receiver before you buy anything. Get under the car with a tape and measure the inside of the hitch opening. Roughly 1.25 inches is a Class I or II receiver. Roughly 2 inches is Class III or IV. A rack designed for one will not be safe in the other. While you are under there, read the hitch sticker and note the tongue weight rating. Bikes plus rack plus the leverage of a hanging design is more load than most people estimate.
Step two: Read the hitch instructions for your car. Some factory hitches have a torque spec for the pin or the anti rattle bolt. Some aftermarket hitches sit further inboard and need an extender, which changes your clearance and your load math. Five minutes with the manual beats a return shipping label.
Step three: Assemble the rack on the ground. Do this in the driveway, not on the back of the car. Arms, cradles, wheel straps, and any anti rattle hardware go on while the rack is at a comfortable height. Doing it mounted means dropping small parts into grass.
Step four: Seat the rack in the receiver. Slide it in all the way, then pull it back out about a quarter inch. If it slides in and out freely, you have the right class. If it does not go in at all, stop, because you have the wrong size and forcing it will cost you a pin.
Step five: Pin it and tighten the anti rattle hardware. The pin keeps the rack on the car. The anti rattle bolt or wedge is what keeps it from clunking in the receiver, and this is the single step most people skip. Tighten it until the rack stops moving when you push the mast side to side. No rack should rock in the receiver by hand before you put a bike on it.
Step six: Check tilt clearance with the hatch open. Fold the rack down, or tilt it away, with the hatch or tailgate fully open. Watch for contact at the top of the mast and at the arms. If the rack touches the bumper or the glass, adjust its position in the receiver before you load anything. This is the step that saves your paint.
Step seven: Load the bikes in the right order. Heaviest bike closest to the car on a hanging rack, because that is where the leverage is shortest and the sway is smallest. Use the wheel straps every time, even for a five minute drive. Set the cradles so the frames cannot rock into each other. If you are loading in the dark, a headlamp on the frame beats holding a phone in your teeth.
Step eight: Lock it and do the shake test. Grab the mast and shake it hard, side to side and front to back. Then grab each bike at the saddle and do the same. Anything that moves more than the suspension of the car is something you did not tighten.
Step nine: Re-check after ten miles. Pull over somewhere safe, put a hand on the rack and each bike, and check the pin and the anti rattle bolt again. New installations settle. After the first trip the rack will hold where you set it, and you can stop doing this every time.
The mistakes that put bikes on the highway
The failures I have seen, in order of how often they happen.
Skipping the anti rattle hardware. A rack that clunks in the receiver is a rack that is hammering the pin, and pins fail.
Loading a carbon frame on a hanging rack. A top tube was never designed to carry the bike's weight from above. Use a tray rack for carbon, full stop.
Reusing old straps. Straps stretch, cam buckles wear, and a stretched strap is how a rack swings into a highway divider. If a strap has frayed edges or does not hold when you pull it, replace it before the next trip.
Blocking the backup camera and the lights. Check both with the bikes loaded. If the rack hides your taillights, you need a light bar, and if it hides the camera, pick a rack that folds lower.
Leaving the rack on the car for months. Road salt and sun destroy cradles and straps. Take it off when you are not using it and it will last years longer.
The racks and gear that did not make this guide
Trunk racks. I will not recommend one for a bike worth more than a few hundred dollars. They scratch paint, they swing in wind, they block your lights, and the straps touch your paint and your glass. They exist for occasional use on cheap bikes, and that is the only case where I would hand one to a friend.
Roof racks. Not my lane, and I will say so plainly. I am a hitch person. Roof racks add wind noise, they are hard to load on a tall car, and the failure mode is a bike meeting a garage door header. Different physics, different guide.
Tray racks in general. If you ride carbon, a step through frame, a fat bike, or an e-bike, a tray rack is the correct answer and this guide's hauling pick is the wrong tool for you. The workflow above still applies, step for step. Only the loading step changes.
What this all costs
I am not going to quote you prices, because they move, and because the number you should care about is not the sticker. It is the cost of the alternative.
A hitch mounted carrier plus a floor stand is a system. The carrier keeps the bikes on the car safely. The stand keeps them from being damaged at home and makes loading faster, because bikes that are organized load in half the time. That second part is the one people skip, and then they wonder why they only ride twice a month.
The real comparison is not rack versus rack. It is rack versus a repair bill for a scratched panel, a bent derailleur hanger, or a frame that went over the guardrail at 70 mph. Every one of those costs more than the gear on this page, and none of them is covered by a warranty.
Do the nine steps once, properly, with the anti rattle hardware tight and the straps fresh. Then take a photo of the loaded rack with your phone so you have a reference for next time. Twenty minutes, one time, and you stop thinking about your rack at all, which is exactly how safety equipment should feel.