Rust is the quiet killer of hitch racks. You notice it in year three, an orange bloom around the pin hole and along the weld where the receiver tube meets the crossbar. By year five the inside of that tube is flaking enough that your rack shank rattles no matter how hard you crank the anti-sway knob, and the slop is not the rack's fault. Hitch receiver rust repair is a Saturday morning job, not a new hitch, and it belongs on the same list as getting the bikes off the garage floor.
I have run tray racks on two-inch receivers for over a decade, through Colorado winters and one very memorable deer strike, and the failure I see most often in other people's setups is not a bad rack. It is a receiver that was never prepped and a garage wall that was never planned. Both jobs are metal work plus a tape measure, and both take an afternoon.
Here is the order I do them in, why the order matters, and the mistakes that cost people a rack or a paint job.
Why you should trust me
I am a road and gravel rider in Boulder who commutes, races crits, and drives to the mountains most weekends. I have owned eight racks in twelve years, including a trunk strap rack that scratched the paint on a car I still miss, a hanging rack that swung into a highway divider on I-70, and a tray rack that took a deer at 60 and kept the bikes on board. I measure install time, wobble at highway speed, and how long it takes to load a bike in the dark after a long ride.
I am also a hitch person and I say so. No roof racks in this guide, and nothing about RV or fifth-wheel setups, which live in a different world of weight and wind. If you want roof rack advice, you are on the wrong page.
How I picked what goes in this guide
Two jobs, two pieces of hardware. The first job is stopping rust in the receiver before it eats the shank of a rack that costs more than the hitch did. The second is getting bikes vertical in the garage so the floor stays clear and derailleurs stop getting bent by lawnmowers.
For the receiver, I looked at what a rust product actually has to do: convert existing surface rust rather than just cover it, stick to metal that lives outdoors, survive heat cycles, and hold up to UV because a hitch is in the sun all day. A water-based converter and primer in one saves a step, because you are not chasing a separate primer coat on a Saturday.
For the wall, I looked at three things. How the mount attaches to structure, because a hook that only touches drywall is a hook that will fail with a bike on it. How much the arm articulates, because a fixed hook forces you to leave a bike's width of dead space and a swivel lets you fold bikes flat against the wall. And whether it comes as a pair, since almost nobody owns exactly one bike.
I did not test either of these products myself, and I am not going to pretend otherwise. What follows is how they fit into a workflow I have run many times.
The two pieces of hardware
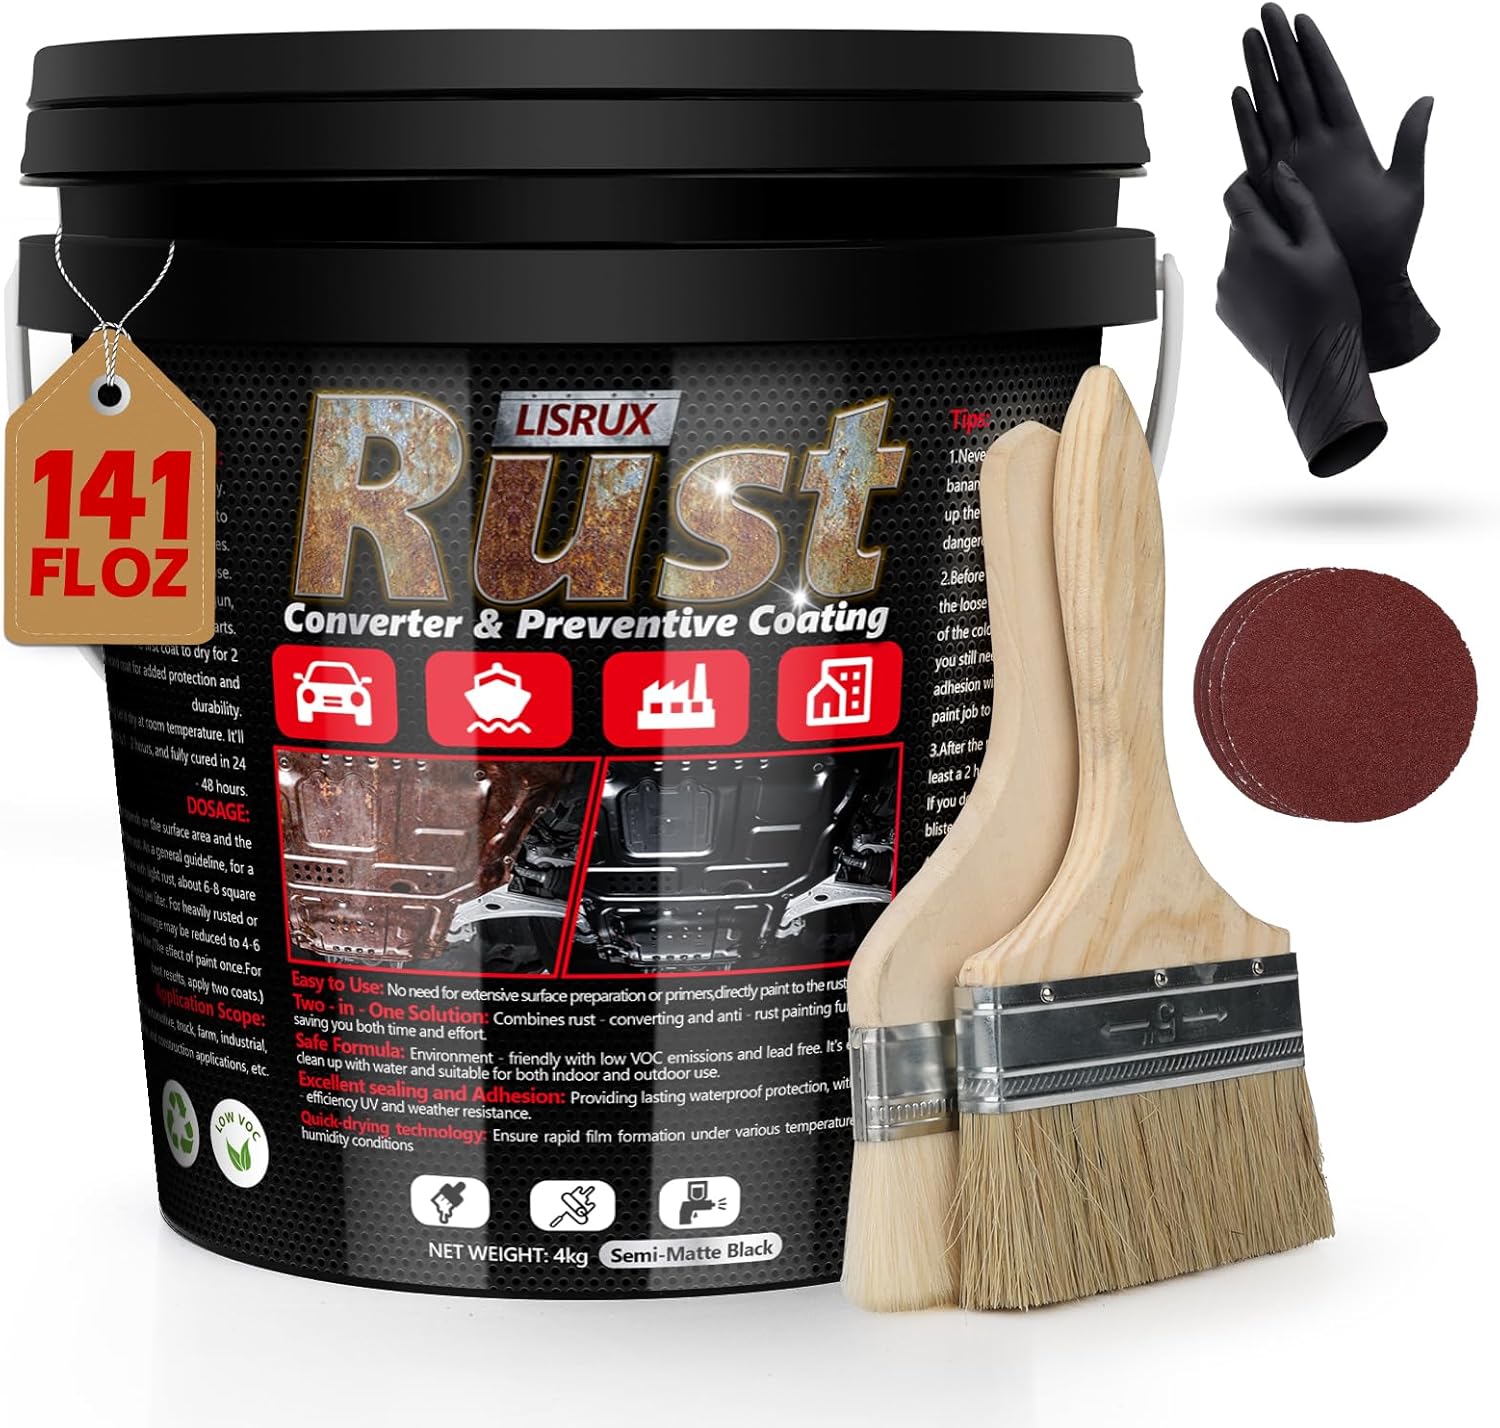
For the receiver: Rust Converter & Metal Primer, 141 Fl Oz Black Rust Inhibitor Paint for Metal, Automotive Rust Reformer, Industrial Grade Water Based, Heat Resistance & UV Resistant
 Visit on Amazon →
This is the right category of product for a receiver tube: a water-based converter and primer that turns existing rust into a paintable surface and then acts as the primer coat, in black, with heat and UV resistance built in. The black matters more than people expect. A hitch lives in road spray and sun, and a converter that stays dark does not need a color topcoat to look intentional on a black hitch.
The quantity is the other reason it fits this job. You are not touching up a spot the size of a quarter. You are coating the inside of a receiver tube, the collar, the weld seams, and probably a bike rack shank and a couple of wheel straps while you have the brush out. Buy once, and you have material left for the next vehicle.
Flaws but not dealbreakers: Water-based converters are slower to cure than solvent-based ones, and humidity stretches that out. In a Colorado winter garage, plan on leaving it alone longer than the label suggests and do not rush the topcoat.
Anyone with surface rust in a receiver, a hitch ball mount, or a steel rack shank will get use out of this. If the metal is pitted through, no coating saves it and you need a hitch, not a paint.
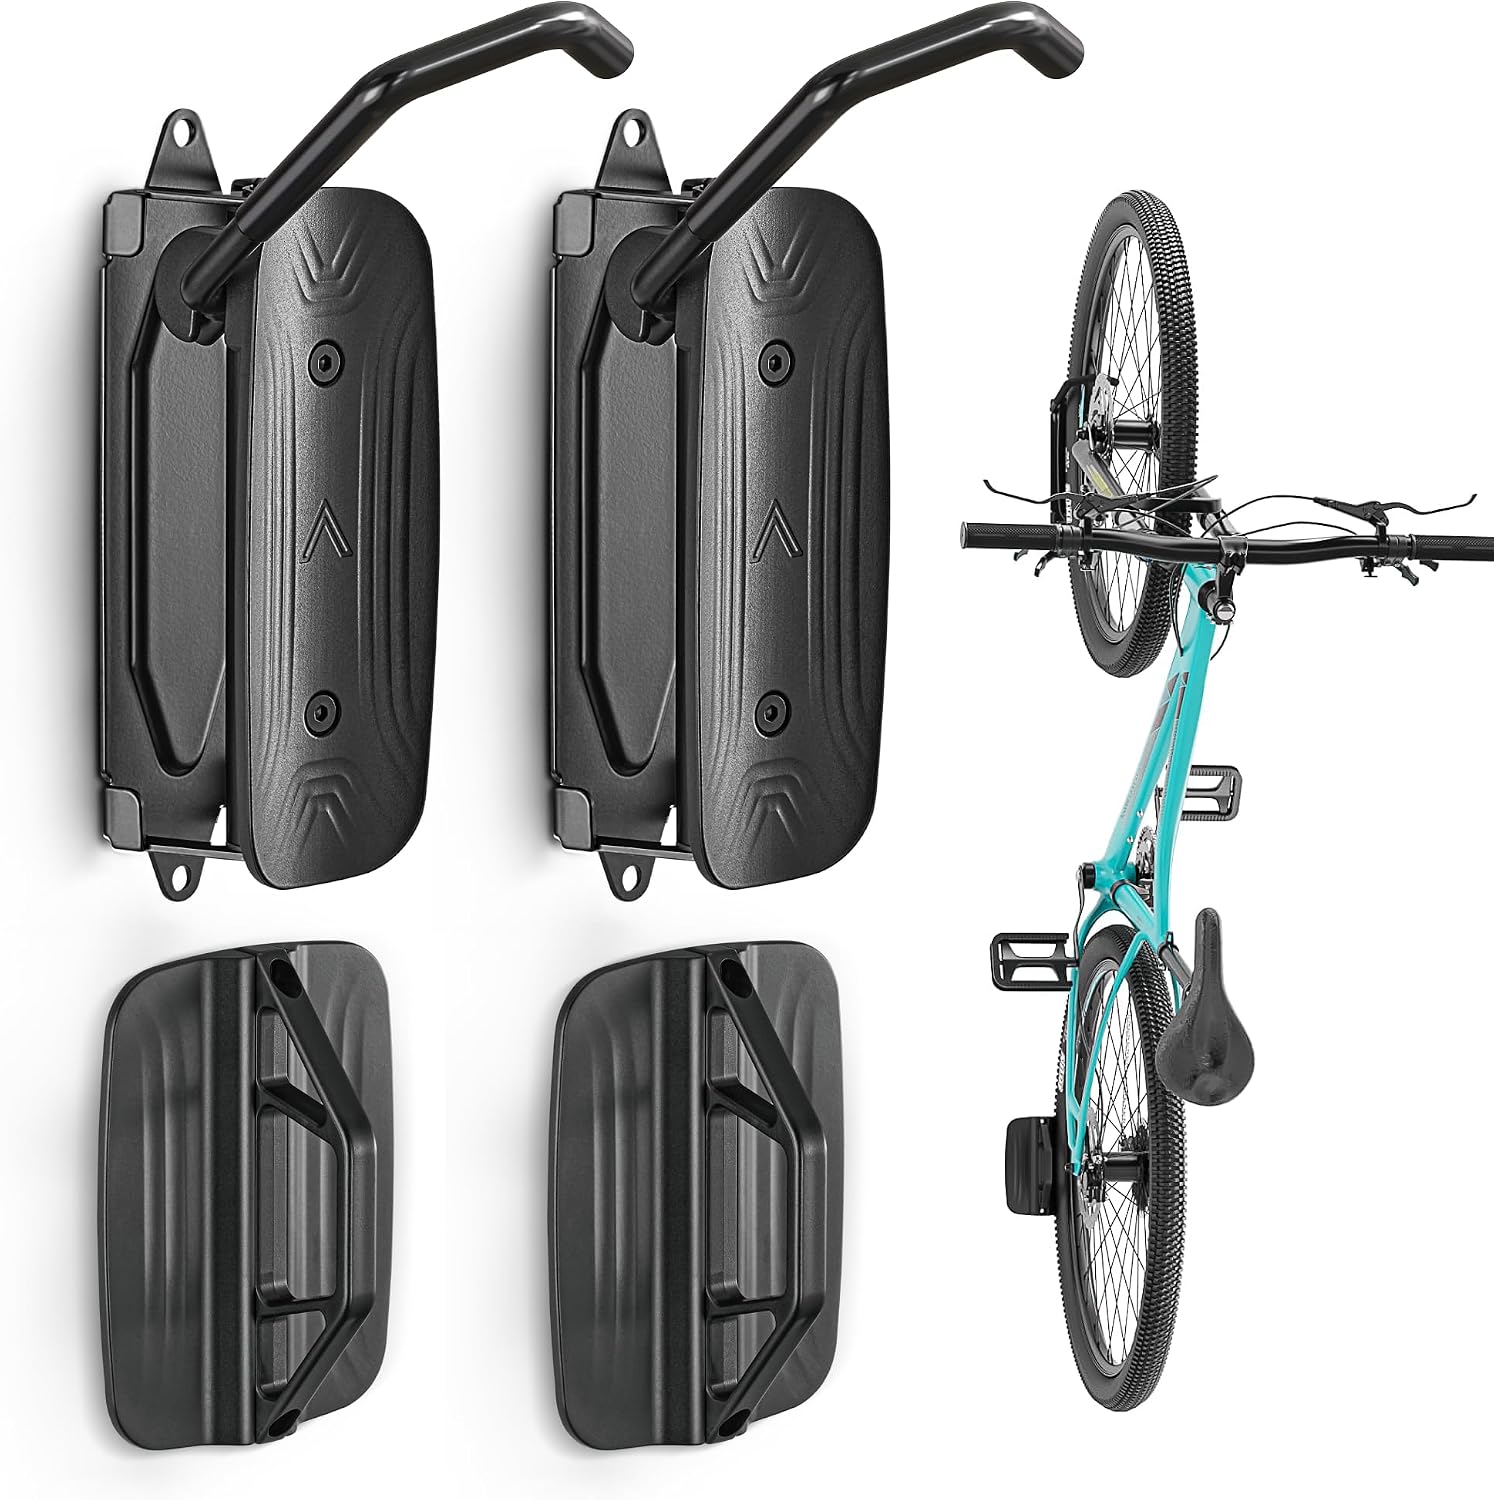
For the wall: monTEK Swivel Bike Wall Mount, Bike Hangers for Garage, 2 Pack
 Visit on Amazon →
A swivel wall mount solves the specific problem that makes people give up on wall hooks. A fixed hook holds a bike perpendicular to the wall, which means each bike claims a full bike-length of floor space, and you have not actually saved anything. A swivel arm lets you rotate the bike flat against the wall when it is parked and swing it out when you need to walk it in or out.
Coming as a two pack is the practical part. Two hooks is one bike and a spare, or two bikes if you space them properly, and the second hook is what lets you keep the commuter and the gravel bike off the floor at the same time.
Flaws but not dealbreakers: Wall mounts live or die on what is behind the drywall. The mount is only as strong as the fasteners you use, and no wall mount ships with hardware that knows where your studs are.
Anyone with a garage wall and more bikes than floor space should start here. If you rent and cannot put holes in anything, this is not your product.
The actual workflow
Part one: the receiver
Do this before you mount the rack, not after. A freshly coated receiver means you are not grinding rust into the shank every time you slide the rack in.
Step one: Look inside the tube. Shine a flashlight down the receiver and feel along the inside with a rag over a screwdriver handle. Surface bloom is fine. If the metal is pitted through or you can push a screwdriver tip into a soft spot, stop here, because the structure is gone and coating it just hides the problem.
Step two: Strip the loose stuff. A wire brush on a drill makes short work of the collar and the visible seams. The point is not to get to bare shiny metal, since converters need rust to bond to. The point is to remove flakes that will lift the coating later. Wipe everything down with a degreaser or denatured alcohol and let it dry completely.
Step three: Mask what must stay clear. Tape off the pin hole if you want a clean bore for the pin, and mask anything you do not want black, like the wiring for a trailer harness. If you plan to coat the inside of the receiver tube, keep that coat thin. Thick coating inside the tube is how you end up with a rack shank that will not slide in.
Step four: Apply it into the pits, not just over them. Work the converter into the rust with a brush rather than floating it on top. Thin, even coats beat one heavy coat. Get the weld seams, the collar, the underside where road spray collects, and the shank of your rack if it is steel.
Step five: Let it cure, then dry fit. Water-based means patience. The color darkens as it converts, and the surface goes from wet to matte. Once it is fully cured, slide your rack shank in and check the fit. If the coating made the bore tight, a light pass with fine sandpaper on the inside of the tube fixes it.
Step six: Topcoat only if you need it. Because this product is already black and UV resistant, most hitch owners can stop here. If you want a different color or an extra sacrificial layer on a rack shank, apply it inside the recoat window the label gives you rather than waiting a week.
Part two: the wall
Step one: Find the studs before you drill anything. Run a stud finder across the wall and mark both edges of each stud, then aim for the center. This is the step people skip, and it is the only step that matters for whether your bike stays on the wall.
Step two: Set the height from your tallest bike, not from the photo. Hang a hook so the bike clears the floor with room to spare and you can still lift it off without standing on a stool. Measure your tallest bike from the floor to the top of the rear wheel, add a few inches of clearance, and mark that height.
Step three: Space the pair with handlebars in mind. Two hooks side by side need enough gap that bars and pedals do not tangle when you swing bikes in and out. Lay both bikes out on the floor where you want them, and mark the wall from that spacing instead of guessing.
Step four: Use real fasteners into real structure. Lag bolts into studs, or into a plywood backer you have bolted to studs. Drywall anchors alone are for picture frames and smoke detectors, not for a bike hanging above a car.
Step five: Load the heaviest bike first. Hang the bike slowly and watch the mount and the wall, not the bike. If anything flexes, moves, or crunches, unload it and fix the mounting before you hang anything else.
Step six: Check the swivel arc against the car. Swing the arm through its full travel with a bike on it and make sure it does not reach the door of whatever parks next to it. Clearance problems are cheap to fix now and expensive to fix after a door gets a dent.
Mistakes that cost you a rack
Coating over loose rust. Converter needs rust, not flakes. If it goes on over scale, the whole layer lifts in a season and you are back to bare orange metal.
Painting the inside of the receiver too thick. A heavy coat narrows the bore, and a rack shank that used to slide in now needs a mallet. Keep the inside coat thin and dry fit before you call it done.
Hanging on drywall alone. The most common wall mount failure I hear about is not a broken hook. It is a hook that was never in a stud, taking a chunk of drywall with it.
Hanging a carbon frame from a single hook on the top tube. Whatever mount you buy, wheels take the load better than a tube does, and a carbon top tube is not a lifting point. Save the frame hooks for steel and aluminum.
Mounting the rack before the receiver is dry. Fresh coating plus a steel shank plus a little movement equals a coating that never cures properly. Give it the time.
What I would skip
Freestanding floor stands are fine for an apartment and terrible for a garage, because they give back exactly the floor space you were trying to reclaim.
Ceiling hoists work for light bikes and get awkward fast with anything heavy, especially when you are lifting over a car hood.
Trunk strap racks are for occasional use on cheap bikes. They scratch paint, they move in wind, and they block your lights. I will not recommend one for a bike over $800, and I have the scratched hatch to prove why.
Roof racks are not my subject. I am a hitch person, and roof racks put a $4,000 bike above a low parking garage beam.
What this actually costs
I am not printing prices, because they move and the links above will tell you the truth in two seconds. Check current Amazon price on both and do the math against what you already own.
The real comparison is not between two products. It is between a Saturday of prep and the cost of replacing a rack that wore out early because its shank was grinding against a rusty tube for three seasons. Add up a new tray rack, a new hitch if the receiver is pitted through, and the paint repair on a hatch that got scratched by a strap rack, and the afternoon looks cheap.
Time-wise, plan an hour for the receiver once the rust is stripped, most of which is waiting for the coating to cure, and about an hour for two wall mounts if your studs cooperate. If your studs do not land where you want them, add the time to cut and mount a plywood backer.
Do the receiver first so it can cure while you are drilling the garage wall. That is the whole trick to fitting both jobs into one afternoon.
The rack is safety equipment. So is the hitch it bolts into, and so is the wall that holds your bikes over the car. Prep the metal, find the studs, and load it up.