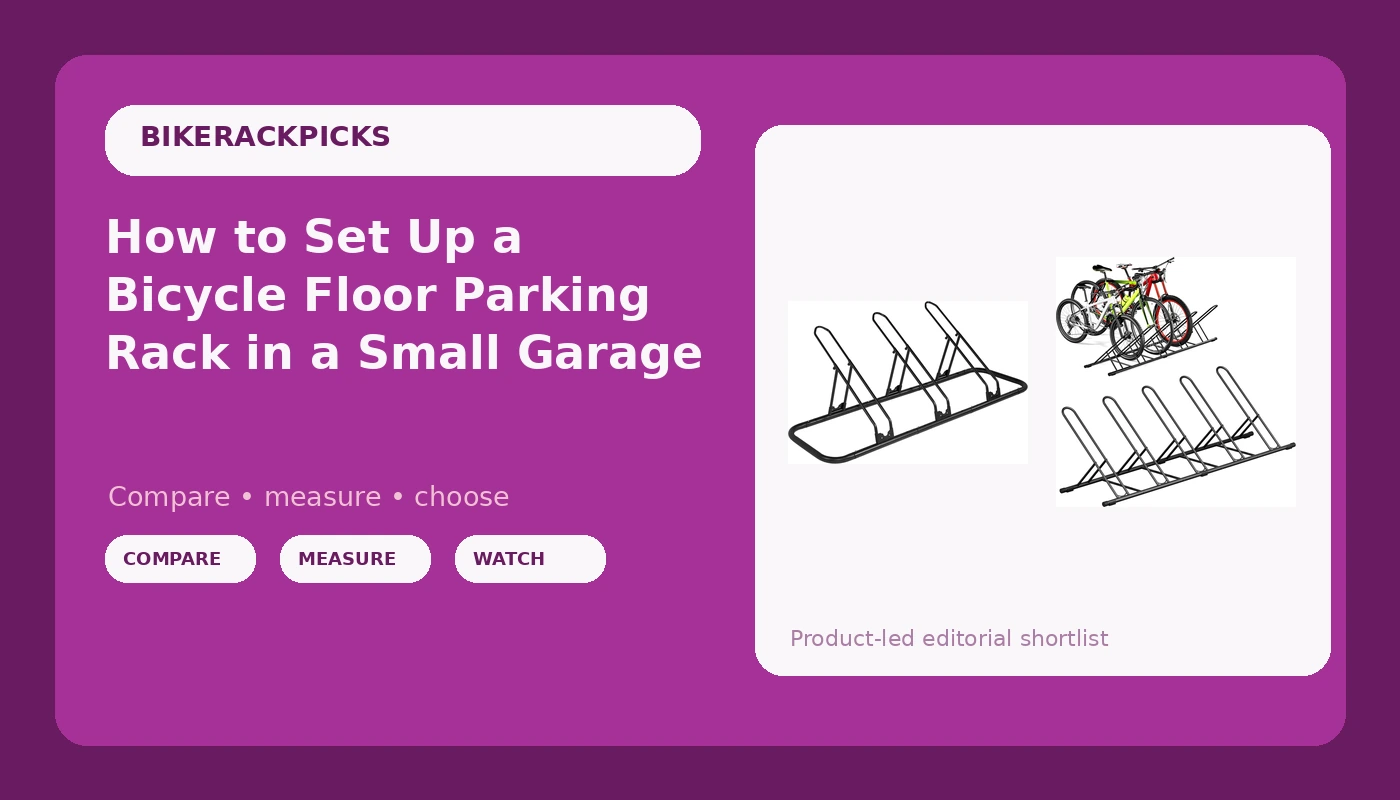
Most garages do not have a storage problem. They have a placement problem. Three bikes lean against the same wall, the kickstand on the fourth gave up last winter, and every time you pull the car in you clip a handlebar. A bicycle floor parking rack fixes that in about an hour, without drilling a single hole in your drywall, and it is the one piece of bike gear I recommend to people who insist they are not gear people.
I am a hitch rack person. My garage in Boulder has a tray rack hanging on the wall, a torque wrench on the bench, and a permanent outline of a gravel bike tire worn into the concrete. But the floor stand is the other half of the system. The hitch rack gets the bikes to the trailhead. The floor rack keeps them from becoming a pile in the corner the rest of the week.
This is the setup guide I wish I had written down years ago: how to choose between the two styles of floor stand, where to put it, and how to load it so nothing tips over at 6 a.m. when you are already late for a group ride.
Why you should trust me
I have owned eight bike racks in twelve years, from a trunk strap that scratched the paint on a leased Jetta to a tray rack that survived a deer strike on a canyon road outside Lyons. Most of that time the bikes lived in a garage, which means I have also owned four floor stands, including one that folded under a loaded bike because the legs were thinner than the box suggested.
The lesson is simple. A floor stand is safety equipment for your paint, your derailleur, and your shins. It is not complicated, but the cheap ones fail in predictable ways, and the setup mistakes are always the same three. I have made all of them.
What a floor parking rack actually does
A floor parking rack holds a bike by its wheels, usually in a channel or a pair of cradle arms, so the bike stands upright on its own. That is the whole trick. It does not lift the bike, it does not lock it, and it does not protect it from a car door.
What it buys you:
- Vertical storage without wall anchors. Renters, this is your answer.
- A consistent footprint. Every bike occupies the same slot every time, so the garage stops shrinking.
- Drivetrain protection. A bike leaning on a pedal is a bent derailleur hanger waiting to happen.
- Faster loading. Roll the front wheel in, step back, done. No lifting onto a hook.
What it does not buy you: floor space if you park it in the middle of the bay, security for a bike worth more than the car, or any help with a fat bike or a long-tail cargo bike unless the listing says the channel is wide enough. Check that before you buy, not after.
How to choose between the two styles
Two variables decide it: how many bikes, and how much floor you are willing to give up.
Free-standing stands come in two shapes. The cradle style has a base plate with upright arms that grip the wheel. The channel style has a longer base with slots the wheels drop into. Both work. Cradle stands are easier to move around, channel stands hold more bikes in less length.
Then count. If your household has five bikes, buy the stand that holds five and leave two slots empty for the days a friend's bike is in the garage. If you have three bikes and a tight single-car bay, buy the smaller unit and accept that you will shuffle.
Last thing: check the wheel size range in the current listing. A stand that fits a 700c road wheel does not automatically fit a 27.5 inch mountain tire with a knobby tread. Tire width, not wheel diameter, is the number one reason these racks get returned.
Floor stand, wall hook, or ceiling hoist?
A wall hook is cheaper and takes the bike off the floor entirely, but it means lifting a 25 pound bike to shoulder height every time, and it puts a hole in the wall that your landlord will notice. A ceiling hoist is great for a bike you ride twice a season and miserable for the one you ride four times a week.
A floor stand wins on two things: no drilling, and no lifting. You roll the bike in at knee height and walk away. The trade is floor area, which is exactly the resource a garage is short on. If your garage is deep but narrow, a floor stand along the back wall is the better answer. If it is wide and shallow, hooks may serve you better.
The two floor stands worth your garage floor
Both of these are indoor storage stands built for garage duty. Neither one is a transportation rack, and neither one should be used to carry a bike on a car.
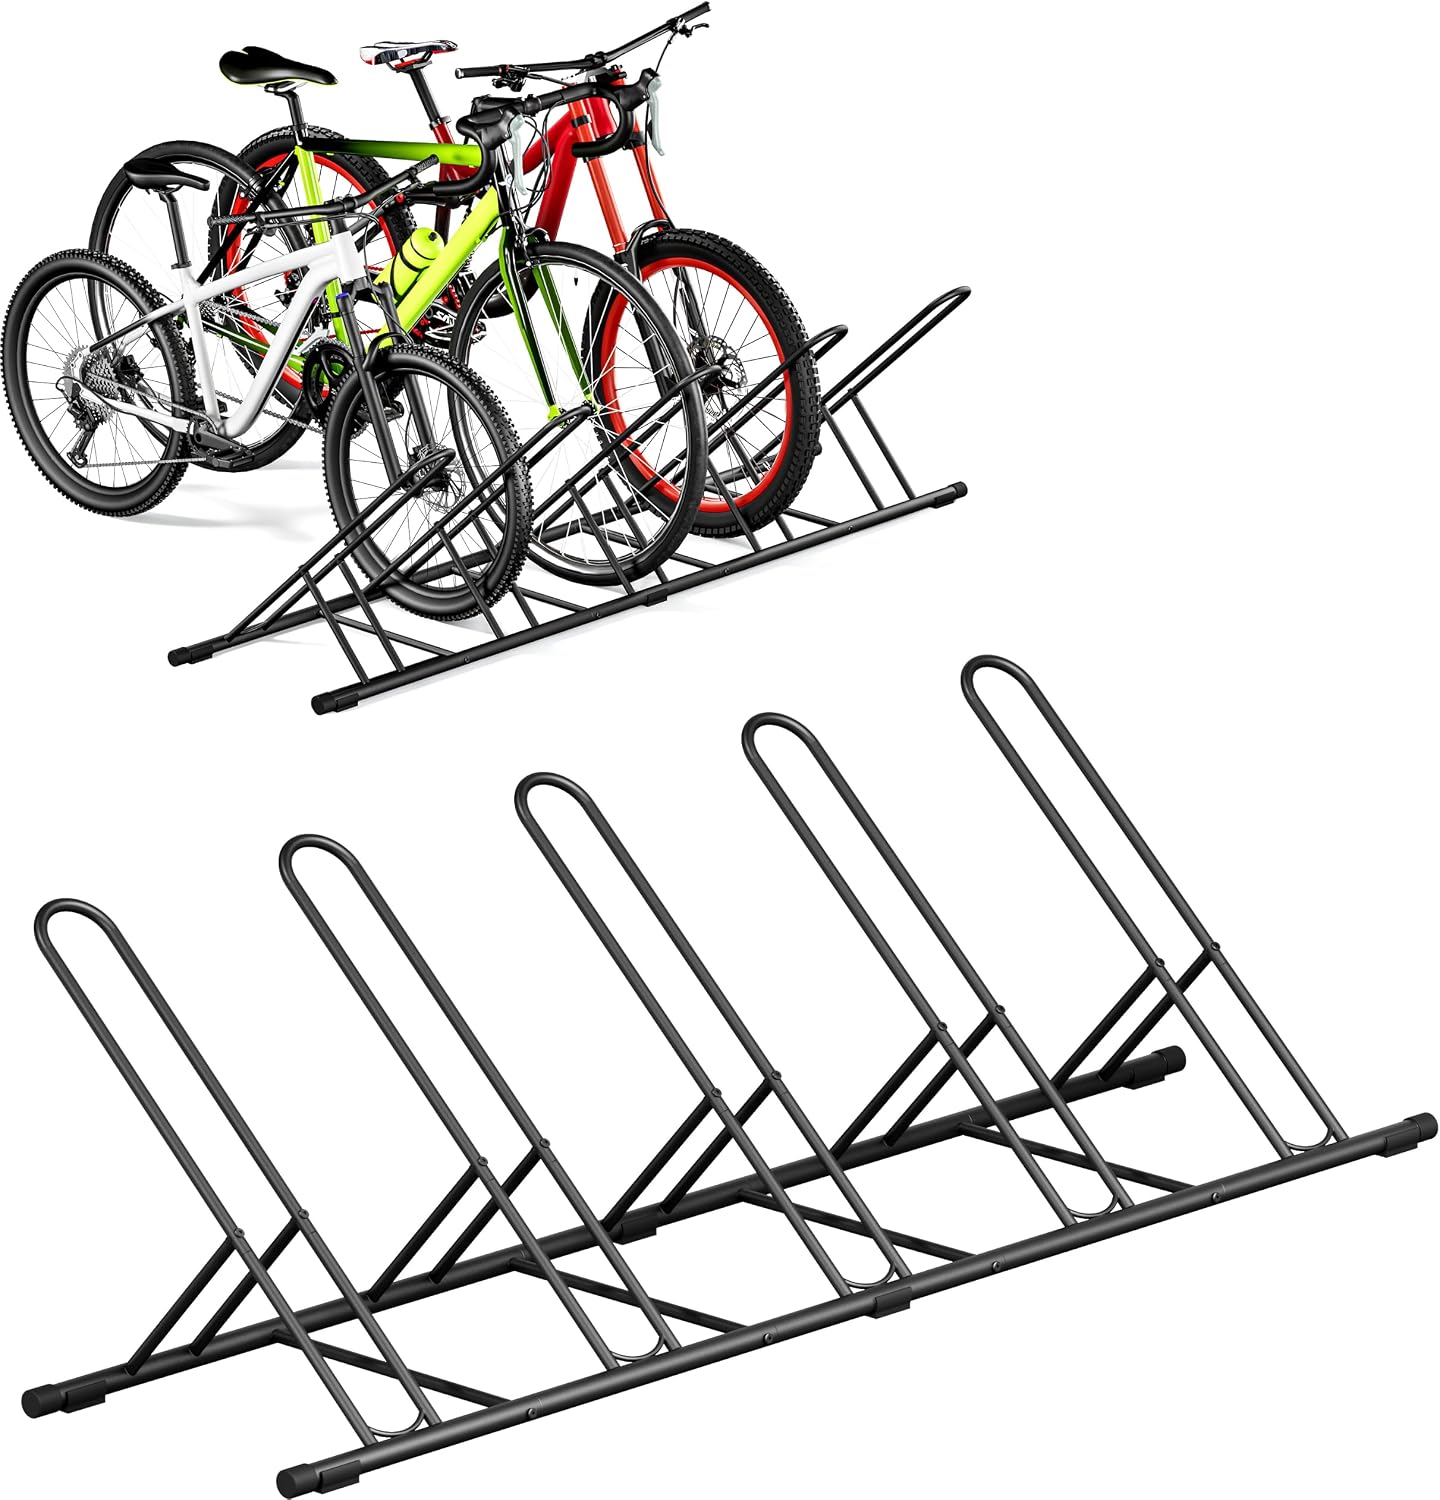
Best for a full household fleet: Artigarden 5 Bikes Floor Parking Rack Stand, Bicycle Garage Storage Rack
 Visit on Amazon →
Five slots in one unit is the entire point. One stand holding five bikes takes up less total floor than three stands holding two each, and it means one thing to assemble instead of three. Setup is a base and uprights, so it is a one-person job with the included hardware and a rubber mallet.
Before you order, look at the current listing photos for slot spacing and the stated wheel size range, and read the most recent reviews for anything about stability with heavier bikes. Five bikes in one rack means the rack wants the heaviest bike in a middle slot rather than on an end. That is not a flaw, it is physics, and loading that way keeps the base planted.
Flaws but not dealbreakers: One unit, five bikes, one footprint to walk around. If you need a car door to open beside it, measure first and leave yourself room.
Anyone with more than three bikes in the household will get the most out of this.
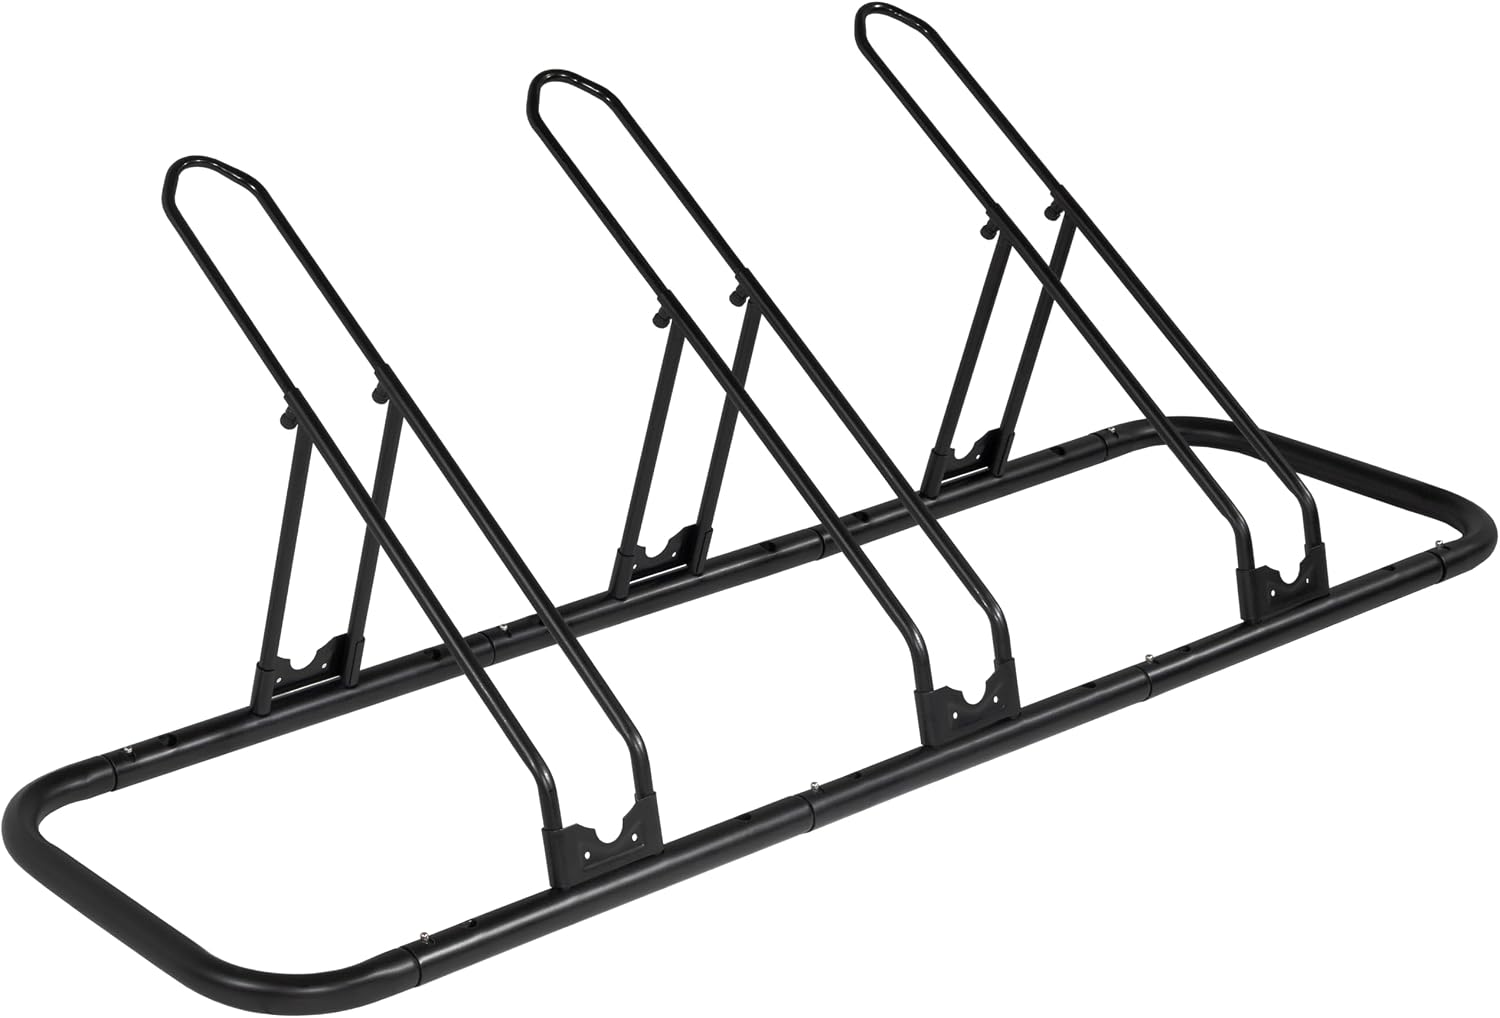
Best for tight bays and mixed wheel sizes: CyclingDeal Bicycle Floor Parking Rack Stand - for Mountain MTB Road Bike - Indoor Home Garage Storage - Adjustable 3 Bikes
 Visit on Amazon →
Three bikes, adjustable, and marketed at both mountain and road bikes, which matters in a household that mixes a 29er with a 700c gravel bike. The adjustable part is the feature I care about most. It means the slots can be set to the bikes you actually own instead of the bikes the factory imagined, and you can re-space the rack later when someone brings home a wider tire.
This is the one I would put in a single-car bay or a narrow third bay where the wall is short. Three slots side by side take up less length than five, and leaving the middle slot empty gives you a natural buffer between two bikes whose handlebars would otherwise tangle.
Flaws but not dealbreakers: Adjustability means there is more to get right the first time. Set the spacing with the bikes in place, then tighten everything down.
Anyone with two or three bikes and limited wall length should start here.
How to set up a floor parking rack, step by step
Step 1: Measure the space, not the bikes
Measure three things: the length of the wall you want to use, the width of the bay in front of it, and the length of your longest bike from front tire contact patch to rear tire contact patch. Then measure the swing of your car door. The rack does not have to sit against a wall, but if it does, the bike needs to be far enough out that the handlebars clear the wall and the pedals clear the bike next to it.
Step 2: Pick the wall that is not the door wall
The garage door track, the water heater, and the door into the house all eat wall space. The best wall is the one nobody walks along. In a two-car garage with one car, the empty bay's back wall is the obvious answer, but do not park the rack where a car has to squeeze past it.
Step 3: Prep the floor
Sweep it, then read it. Concrete slabs slope toward the door for drainage, and a floor stand on a slope will lean with the slope. If the rack sits on a noticeable grade, shim the low side with a strip of rubber or a scrap of plywood, or move the rack to a flatter section. If your floor is epoxy coated, put a thin mat under the base so the metal feet do not grind the coating.
Step 4: Assemble it on the floor, not in the air
Follow the included instructions and leave every bolt hand tight until the base is flat and square. Tighten the base bolts first, then the uprights. Cranking a base plate down on a hollow tube stand warps it, and a warped base rocks no matter how many times you re-tighten it. Use hand tools, not an impact driver.
Step 5: Load the heaviest bike first
Set the rack where you want it, then load your heaviest bike into the slot you want it to live in. That bike sets the geometry for everything else: where the stand sits, which way it faces, and how much room you have to walk past it. Then add the rest, with the widest handlebars on the ends if you can manage it.
Step 6: Test it with a shove
Once it is loaded, push each bike sideways with one finger at the saddle. If the whole stand walks across the floor, the base is too light for the load or the floor is too slick. Fix it now with a rubber pad or a different location, because the first time it slides will be at night with your hands full.
Step 7: Set the spacing, then stop adjusting
Mark the slot positions with a paint pen on the floor or a strip of tape on the base. Once the spacing works, leave it alone. Racks that get re-adjusted every week are the racks that end up half assembled with a wheel missing.
Step 8: Add the small stuff
A cheap hook on the wall above the rack for helmets and a second one for floor pumps finishes the job. Keep the pump where you can reach it with a bike already in the rack, because topping off tires is the reason you walked into the garage in the first place.
Loading a bike in the dark
The test of any storage system is whether you can use it without thinking. Roll the bike forward by the saddle, aim the front wheel at the slot, and let the tire drop in. If you have to lift the bike to seat the wheel, the rack is too tall or you are loading the wrong slot. On a five-bike stand, load from the outside in so you are never reaching over one bike to park another.
Mistakes that make these racks feel cheap
- Putting the stand where a car door opens into it. That is a layout failure, not a rack failure.
- Lifting a bike by the frame instead of rolling it in by the wheel. Wheel contact is what keeps a floor stand stable.
- Ignoring tire width. A knobby mountain tire in a slot sized for a 25c road tire sits on top of the cradle instead of in it.
- Setting the rack on a slope and blaming the stand for the lean.
- Buying one stand for five bikes and then spacing the slots by eye every time.
What it costs and what you get
Both of these are indoor storage stands, so the budget math is easy. Check current Amazon price on each listing and compare that against what you would spend on wall hooks, a ceiling hoist, or a repair after one bike falls onto another. The floor stand is the cheapest of those options and the only one that works in a rental.
Maintenance is close to zero. Wipe the base, check the bolts twice a year, and re-tighten anything that has worked loose. If a rubber foot or pad wears through, replace it before bare metal contacts the concrete.
The bottom line
A bicycle floor parking rack is not glamorous. It will never be the reason you ride more. It is the reason you can find your bike, roll it out, and be on the road in ninety seconds instead of untangling three handlebars and a helmet strap. Measure your wall, pick the stand that matches your bike count, set the spacing once, and load the heaviest bike first. That is the whole job.